Slayers 2 Blood Demon Arts
Blood Demon Arts (also called Evil Arts) are the demon path's answer to breathing styles — 9 random rolls covering melee burst, ranged control and area farming. Unlike breathing, you do not choose your art: conversion rolls one at random, rolling again replaces it, and community reports describe spins that return nothing at all. That makes the tier list a keep-or-reroll guide first and a ranking second.
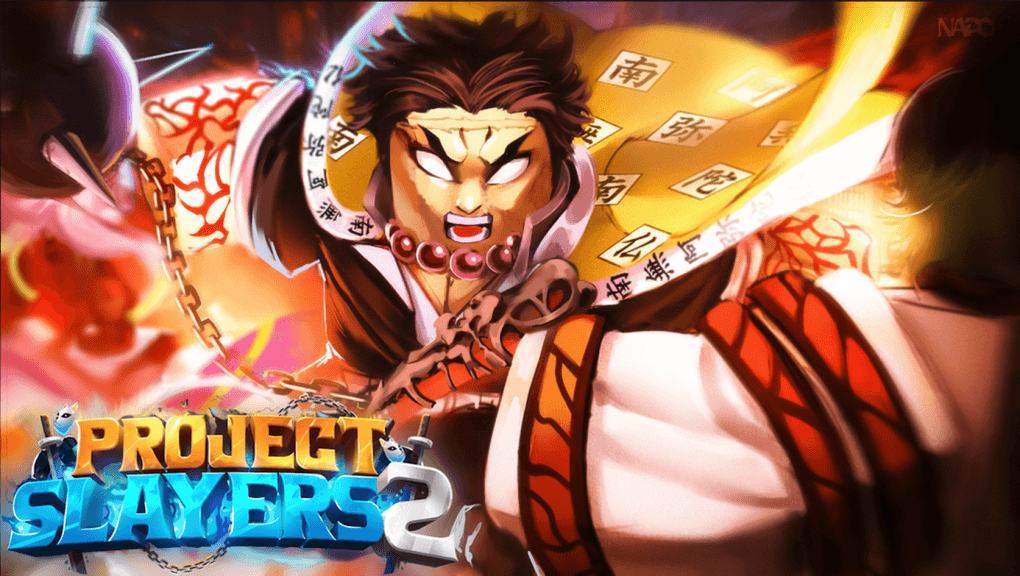
How blood demon arts work
Every demon has one art at a time. After converting on the demon path, you ring the Biwa Bell and choose "Give me your power" to roll; the M1LL1ON code's 50 spins and the ARTRESET free reset are the economy around that roll. Demons cannot learn breathing, so your art plus clan passives plus a fighting style (Soryu at 65) is your entire kit — which is why the roll matters more on the demon path than any single slayer decision. Moves bind to your skill keys on their own cooldowns, exactly like breathing forms.
The tier list, honestly
Ranks below are the cross-source median of published tier lists, adjusted through the V0.17 → V0.2 balance passes (September-October 2026). Where sources disagree by a tier or more — Blood Sickles (S in September, B after the nerf) and Obi (C on the median, S on PGG's V0.2 notes) — the detail pages show the disagreement instead of averaging it away.
Tier Skeep on sight
Tier Astrong keeps
Tier Bsituational
Dream
Wielder: Enmu · 3 moves
Control-focused PvP and coordinated group fights
Blood Sickles
Wielder: Gyutaro · 3 moves
Ranged demons who like to kite, and group PvE where allies can punish
Explosive Blood
Wielder: Nezuko · 3 moves
Farming packs of enemies as a demon
Tamari
Wielder: Susamaru · 3 moves
Tamari party builds — otherwise reroll
Tier Creroll territory
Full comparison table
| Art | Tier | Wielder | Moves | PvE | PvP |
|---|---|---|---|---|---|
| 破 Shockwave | S | Akaza | 4 | Boss barrage pressure plus area damage makes it a practical dungeon pick, not just a dueling tool | Counters and combo routes; slightly PvP-leaning in the current reports |
| 氷 Ice | A | Douma | 4 | The best area control of any art | Grab, counter and combo follow-ups; no major weakness reported |
| 死 Reaper | A | Unconfirmed | 3 | Stronger in coordinated groups where its barrage holds a boss in place | Speed and combo variety make it dangerous in duels; less dominant solo |
| 矢 Arrow | A | Yahaba | 3 | Solid against predictable enemies; its telegraphed setup is far less punishable in PvE than in duels | Slow, visible setup gives human opponents time to react |
| 夢 Dream | B | Enmu | 3 | Serviceable but not its specialty; enemies die before control pays off | Stun and grab conversions enable the strongest combo routes of any B-tier art |
| 鎌 Blood Sickles | B | Gyutaro | 3 | Excellent with allied attacks; solo, the barrage pressure is thinner | Extensions sustain pressure after an opening, though less reliably than before the nerf |
| 血 Explosive Blood | B | Nezuko | 3 | Useful area damage with real dungeon value | High damage when attacks connect; blockable and escapable when they do not |
| 鞠 Tamari | B | Susamaru | 3 | Better than its PvP showing but still outclassed | Limited relative value |
| 帯 Obi | C | Daki | 3 | Comparatively weak; the trap kit shines against players, not mobs | Mix-ups and combo potential that reward practice |
How demon arts work
Every demon has one art at a time. Rolling a new one replaces the old one, so decide whether your current art is good enough before spending — the keep-or-reroll call on each detail page exists because the roll is the whole game. Demons cannot learn breathing, so your art plus clan passives is your combat core; the Soyama and Douma clans are the demon-side standouts, and Kamado's Sun Immunity answers the path's biggest downside.
Demon or slayer?
If you are still deciding between paths, the honest framing: slayers choose their kit (predictable), demons roll it (higher ceiling, harsher floor). Read the full comparison or the best blood demon art guide before converting — the decision is expensive to reverse.
Blood demon arts FAQ
What is the best blood demon art in Slayers 2?
Shockwave — the only S-tier art on every tracked list, with the fastest melee kit and the official showcase moveset. Ice is the best all-rounder (control plus area damage, no build requirement), and Blood Sickles is the highest-ceiling ranged option despite its post-nerf B ranking.
How do you get blood demon arts in Slayers 2?
You roll them. Convert on the demon path, ring the Biwa Bell, choose 'Give me your power' — the art is random, spins fund rerolls (M1LL1ON gives 50), and ARTRESET is a free reset. Rolls can return nothing at all, and a new roll replaces your current art.
Can demons learn breathing styles?
No. The paths are exclusive: demons get blood demon arts, slayers get breathing. Conversion is expensive to reverse, so decide with the demon-or-slayer comparison before you drink the blood.
Which blood demon art should I keep?
Keep Shockwave and Ice on sight. Reaper and Arrow are situational keeps (boss combos and party setups respectively), Explosive Blood is the farming keep. Tamari is the default reroll; Obi rewards practice but most players reroll it. Full decision table in the best-blood-demon-art guide.
What is the difference between blood demon arts and fighting styles?
Three different layers: breathing (slayer path, 8 styles), blood demon arts (demon path, 9 arts), and fighting styles (both paths — Taichi for slayers, Soryu for demons, Reaper at level 100). Fighting styles stack on top of your main kit rather than replacing it.
Do blood demon arts work during the day?
Yes — the art itself is unaffected by sunlight. Daylight damages demons directly, which is a path problem, not an art problem: manage it with the Kamado clan's Sun Immunity or a Sun Hat from the rotating shop.
Values are community-reported and cross-checked across published tier lists and patch notes through V0.2 (October 2026); they can change with updates.